Have you ever pictured your small room turning into a hit-making studio? You might be surprised, because with the right setup, even a tiny space can rock like a professional sound lab. Imagine carving out a cozy corner for recording, a dedicated spot for mixing, and a separate zone just for jamming. With a few clever tweaks and smart gear picks, your quiet room can transform into your very own creative hideaway. Ready to give your space a pop star makeover and start laying down those epic tracks? Let's dive in and make your studio sound amazing!
DIY Home Studio Layout and Design for Creating Hot Tracks
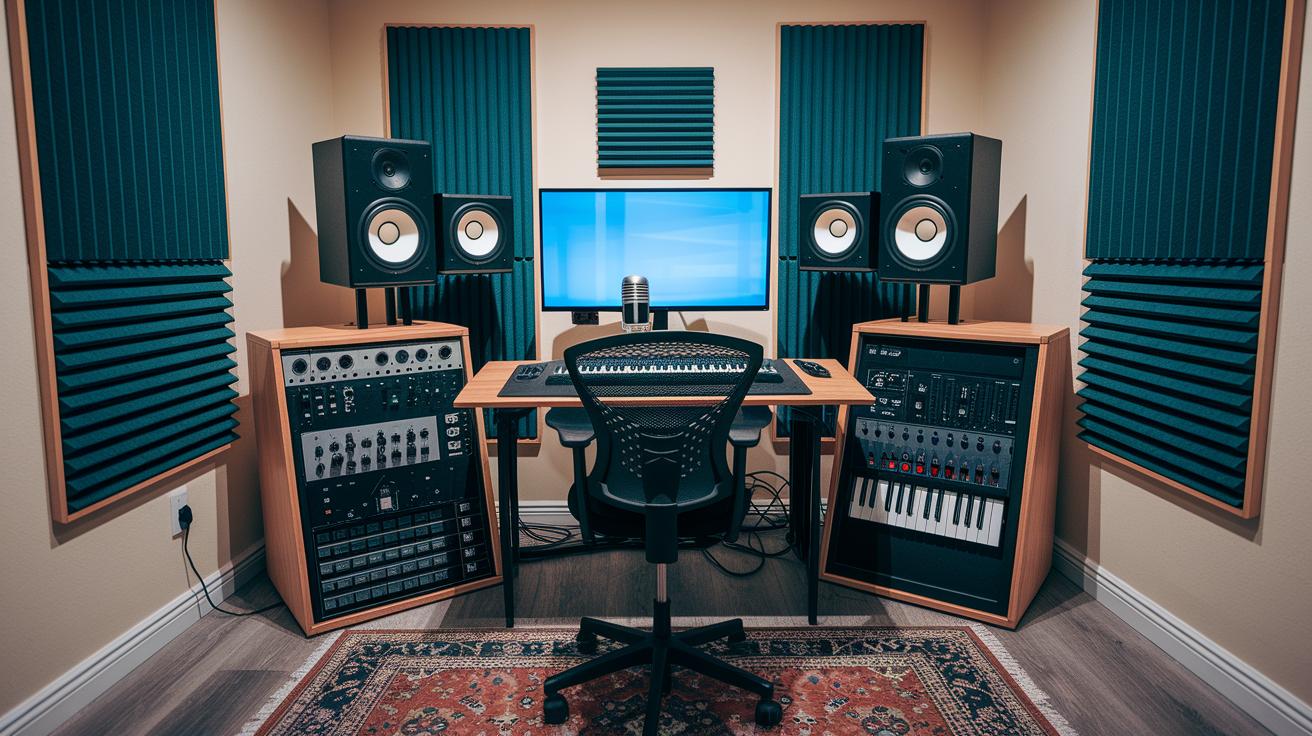
When setting up your studio, picking the right room really matters. Try turning a spare bedroom or quiet space into your creative hideaway, somewhere with its own charm and privacy. And if you can, skip cube-shaped rooms because they tend to create strange echoes and muddle your sound. Fun fact: a room that isn’t a perfect cube can naturally clear up unwanted echoes, making your tracks sound super clean.
Next, break your studio into separate work zones. Think of it like setting up mini stages for different parts of your work, you can have a section for recording, another for mixing, and one more just for jamming out on your instruments. Even in a small space, dedicating one corner for mixing with your speakers on a sturdy desk and another for recording keeps things neat and makes your creative flow smoother.
Remember, getting the perfect layout is all about experimenting. Don’t worry if you have to try a few setups before you find your groove, it's like simplifying your favorite recipe until it tastes just right. Every little tweak can make your space comfier and more efficient, sparking even more inspiration to create those hot tracks.
Affordable Gear Selection for Producing Hot Tracks in Your Home Studio
When you're setting up your home studio on a budget, every piece of gear really counts. Instead of splurging, it's smart to choose reliable, affordable equipment that gets the job done. For example, a handy USB mic like the Rode NT-USB can capture crystal-clear vocals, and entry-level audio interfaces along with compact MIDI controllers help you dive right into making those hot tracks. This setup gives you the freedom to experiment and upgrade as you grow.
- Audio interface
- Studio monitors
- USB and XLR microphones
- Headphones (closed-back/open-back)
- Balanced cables and stands
- Shock mount and pop filter
- MIDI controller or keyboard
Starting with these seven essential tools covers the basics of any home studio. As you get more comfortable with your workflow and find your unique sound, you'll naturally want to add or tweak your gear. Try out affordable upgrades and consider investing a little more in areas that make the biggest difference in your production quality. In truth, this gradual build-up lets your studio evolve naturally, letting your tracks shine bright without overwhelming your wallet from the start.
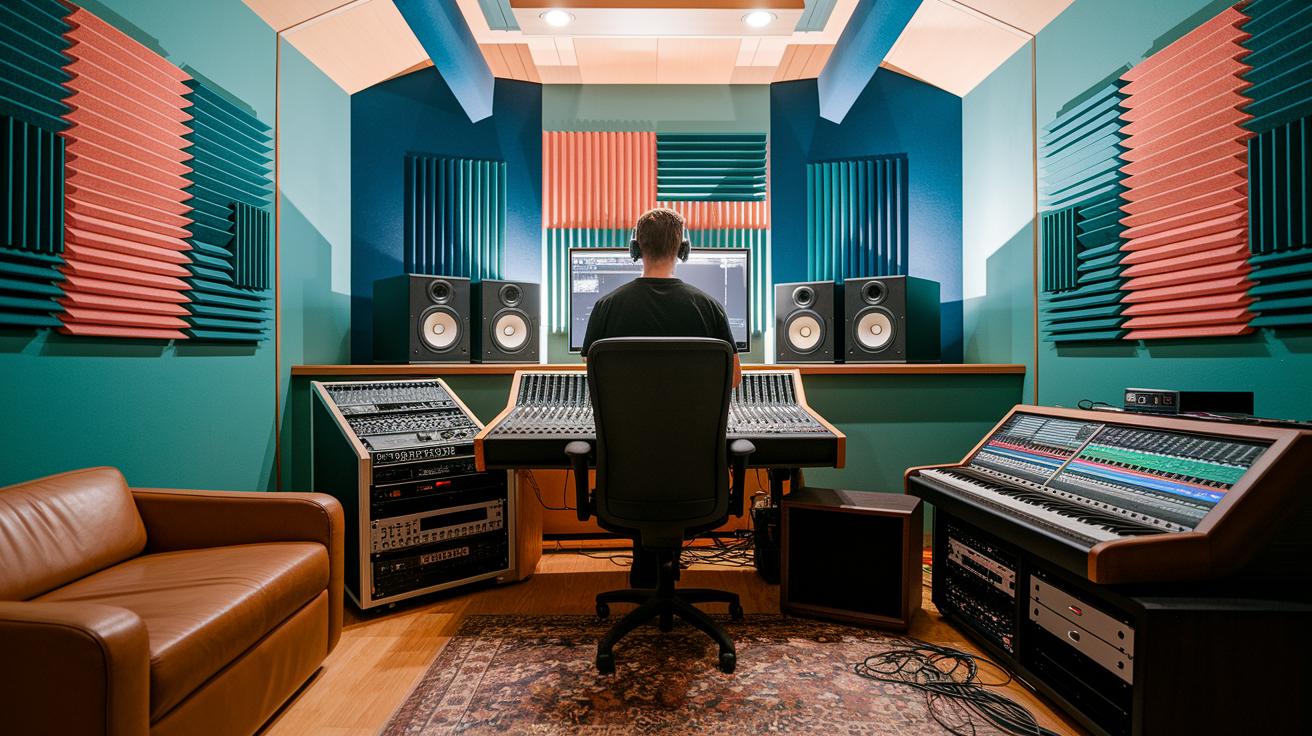
DIY Acoustic Treatment and Isolation Techniques for Hot Tracks
You don’t need a big budget to create an awesome sound space. You can start with simple, affordable materials like foam or fiberglass panels and even make your own bass traps using dense insulation. These DIY fixes act as the building blocks for keeping your sound clean. And with a little creativity, wood scraps can be turned into diffusers to scatter sound waves and prevent harsh echoes. Fun fact: many award-winning producers began by setting up studios with these homemade solutions!
You might also look around your home for cool sound tricks. Heavy curtains, rugs, and carpets can absorb mid and high frequencies, transforming a plain room into a sound-friendly zone. Plus, using monitor pads or stands to lift your speakers off hard surfaces not only shields your gear but also keeps your mixes crystal clear. Ever thought that household items could make a big difference? Check out this quick DIY guide:
| Treatment Type | DIY Materials | Primary Benefit |
|---|---|---|
| Bass Trap | Rigid fiberglass, insulation | Low-end absorption |
| Acoustic Panel | Foam wedges, fabric | Mid/high-frequency control |
| Diffuser | Wood blocks, slats | Reflection scattering |
| Isolation Pad | Monitor pads, rubber mats | Speaker decoupling |
If you have a smaller space, try these apartment-friendly tricks. Position your treatments near windows and doors to block outside noise, and go for flexible setups you can easily adjust. It’s all about making your space sound as good as it looks!
Microphone Placement and Recording Hacks for Capturing Hot Tracks
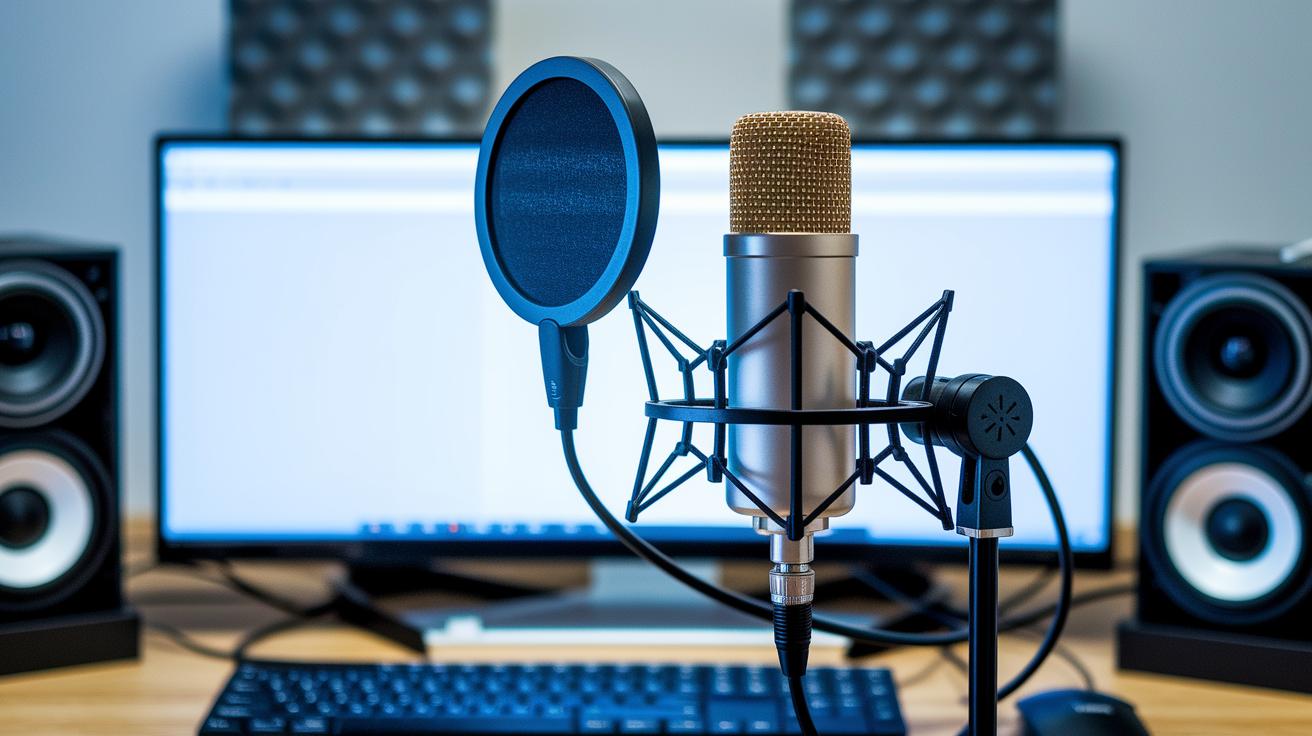
Try keeping your vocal mic around 6 to 12 inches from your mouth while you record. Using a pop filter and shock mount helps us avoid those pesky popping sounds. For a great balance, set it roughly 8 inches away so your voice comes through clear and natural, just like you’re chatting with a buddy.
Keep your mic away from noisy items like computer towers and air vents. Picture your mic retreating to its own quiet little corner, free from distractions. This calm recording space lets your vocals shine without any background chatter stealing the spotlight.
Set your recording settings to capture every little detail. Using a 24-bit depth and sample rates from 44.1kHz to 96kHz is like cranking up your camera’s resolution, it brings out every nuance of your performance so your tracks sound crisp and vibrant.
Organize your cables smartly too. Use balanced cables and keep them separate from power lines. Neatly routing your cables is like tidying up your workspace; everything has its own spot, which means less hum and a cleaner, more professional recording every time.
Mixing Fundamentals and Efficient DAW Workflow for Crafting Hot Tracks
Kick off by splitting your work into clear sessions, one for recording, one for mixing, and another for mastering. It’s like setting the stage for each act in a concert, so you know exactly when to bring in that cool guitar riff or smooth vocal without any distractions.
Now, dive into those essential mixing tools. Use EQ to give each instrument and vocal its own comfy little corner in the mix, and add a dash of compression to smooth out any wild peaks. A bit of light reverb can work wonders, adding a depth that makes everything feel fuller, kind of like tweaking your favorite recipe until the flavor is just right.
Make sure to use all those handy DAW presets and templates. Spending a few moments to set up your track routing now means you’ll be off to a fast start in your next session. It’s a simple trick that speeds up your workflow and gives your mix that professional shine every time.
Switch between your headphones and studio monitors. Headphones let you catch those tiny details like a secret whisper, while monitors provide a big picture view of the whole mix. Flipping back and forth helps you make solid decisions, ensuring your track sounds great everywhere, from tiny speakers to full-on sound systems.
And don’t overdo it with all the effects. Instead of piling on tools, keep your session neat and to the point. This way, your creative spark stays in the spotlight, letting each musical idea truly shine.
Home Mastering Tips to Finalize Hot Tracks in Your DIY Studio
Start off by comparing your track to chart-topping hits on different speakers and headphones. It’s like putting your mix next to a fave song to see if every detail shines through clearly.
Next, try some gentle EQ tweaks. Adjust the low and high frequencies so each instrument’s true character pops up, imagine smoothing out a rough mix until it sparkles with clarity.
Then, bring in a multiband compressor to fine-tune your track's dynamic range and add that extra punch. Work on each frequency band on its own to keep everything feeling natural, like dialing in the heartbeat of your song.
After that, add a limiter to secure your track’s overall loudness without crushing its vibe. A light touch on the limiter catches those peak moments while keeping the energy intact, a perfect way to make your mix crisp and memorable.
Finally, sprinkle in a bit of stereo widening and adjust your final levels to dodge any clipping. Even small tweaks can polish your sound, turning your mix into a radio-ready masterpiece.
Final Words
In the action, you’ve seen how to pick the right room, arrange workstations, choose budget-friendly gear, set up practical acoustic treatments, and nail your mixing and mastering process. Each section laid out clear steps to transform a spare space into a creative sanctuary. Tweak your setup as you learn and enjoy the process, it’s all about crafting a sound that feels uniquely yours. Keep experimenting and stay inspired with DIY home studio tips for creating hot tracks.
FAQ
What do DIY home studio tips on Reddit and YouTube say for creating hot tracks?
The DIY tips found on Reddit and YouTube emphasize selecting a good room, organizing dedicated work zones, and experimenting with layouts as you evolve your space for hot-track production.
How do I build a professional home recording studio on a budget for beginners?
The method for building a professional home studio on a budget involves choosing a flexible space, setting up focused work areas, applying simple acoustic treatments, and following clear building plans to keep costs low.
What should a home recording studio kit or equipment list include?
A home recording studio kit typically features an audio interface, studio monitors, USB or XLR microphones, closed-back and open-back headphones, balanced cables with stands, shock mounts, and a MIDI controller.